Author Archives: ruzans

Depth of Field With Mental Ray

1. Turn on Mental Ray

2. Create a camera, name it shotCam

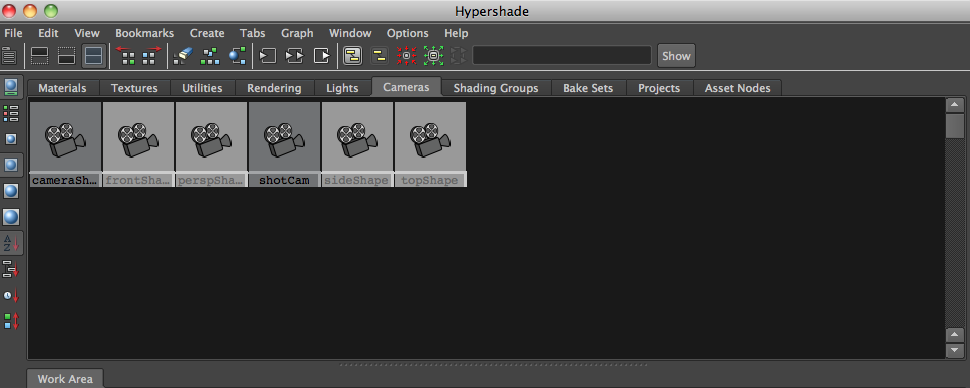
3. Open Hypershade and click on the Cameras tab

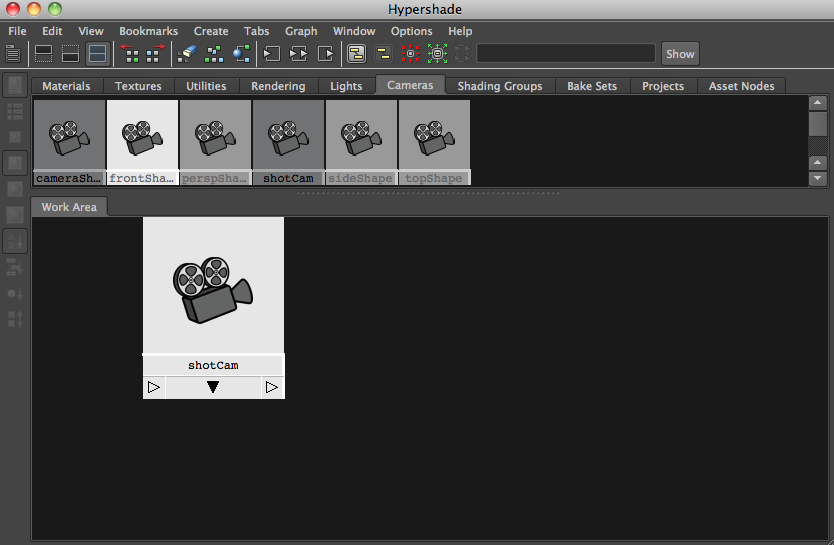
4. MMB – Drag shotCam into the work area

5. Open the create panel on the left, expand mental ray > lenses, click “mia-lens-bokeh”

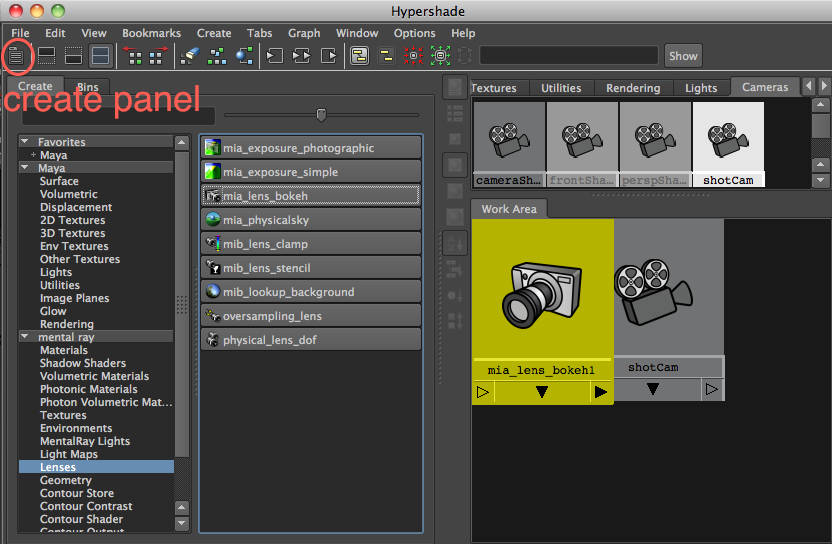
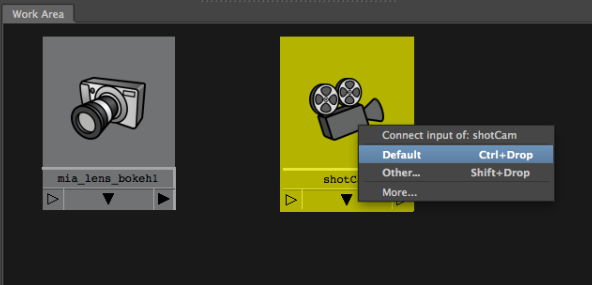
6. MMB drag “mia-lens-bokeh” onto shotCam, int the pop-up, click “dafault” for the input

7. In the Attributes editor you can play with the attributes of “mia-lens-bokeh”

Plane: This is the focus distance ( distance from camera to object you want in focus)

Radius: Larger = blurrier (bokeh amount)

Samples: increase to make it less grainy (bokeh quality)

Link to info about shader

To help with figuring out the focal distance:

when you create the camera also create a distance tool

Label the first locator (cam_loc), the second locator (cam_focus) and the distance (cam_distance).  Then in the outlier drag the locators and the distance under the camera.

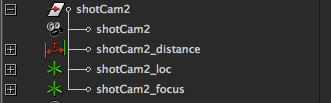
You can the move the focus locator to the thing/area you want in focus. This is the value you place in the plane attribute of the lens shader.


Some tutorials on Normal Maps

OVERVIEW

http://tech-artists.org/wiki/Normal_map

http://wiki.polycount.com/NormalMap?action=show&redirect=Normal+Map

TOOLS

http://developer.nvidia.com/nvidia-texture-tools-adobe-photoshop
http://www.crazybump.com/

TUTORIALS

Transferring detail from high-res model to low-poly model in Maya

http://www.3dtutorialzone.com/tutorial?id=48

http://www.katsbits.com/tutorials/textures/how-not-to-make-normal-maps-from-photos-or-images.php

http://wiki.polycount.net/3DTutorials/Modeling%20High-Low%20Poly%20Models%20for%20Next%20Gen%20Games?action=show&redirect=3D_Tutorials%2FModeling_High-Low_Poly_Models_for_Next_Gen_Games

http://www.bencloward.com/tutorials_normal_maps1.shtml

Still Life Project Prep

Project 2: Due 2/26

Create a still life composition with real objects, both man-made and organic.  Your still life should have at least three objects. Recreate the still life in Maya, using different modeling techniques, textures and creative use of lighting.  Render and print a high-quality final image.

Check out link below for help setting up your still-life:

http://opinionator.blogs.nytimes.com/2010/10/28/the-three-amigos/

For Tuesday,  bring reference images of your still-life.

Exporting Still Image Sequence from Premiere Elements

http://help.adobe.com/en_US/premiereelements/using/WS09e4b3c48f3a79fc19b622510385d4355c-7de2.html#

Export clips as a sequence of still images

You can export a clip or movie as a sequence of still images, with each frame as a separate still‑image file. Exporting as a sequence can be useful in the following scenarios:

  • When you want to use a clip in an animation that does not support video formats or requires still image sequence.
  • When you want to use a clip in a 3D application that does not support video formats or requires still image sequence.

When you export a clip, Premiere Elements numbers the files automatically.

  1. Import the clip that you want to export as a sequence of still images to Adobe Premiere Elements.
  2. Drag the clip to the Quick view timeline.
  3. Click Publish And Share > Computer > Image.
  4. Select a preset from the menu (JPEG), and click Advanced.
  5. In the Advanced dialog, select Export As Sequence.
  6. Click OK to save the preset.
  7. Select the newly created preset, specify a location for the exported still-image files, specify the filename, and click Save. It’s best to specify an empty folder set aside so that the sequence files don’t get mixed with other files.
Note: To set the sequence numbering, type a numbered filename. To specify the number of digits in the filename, determine the digits required to number the frames, and add additional zeroes as required. For example, if you want to export 20 frames with a filename containing five digits, type Car000 for the first filename (the remaining files are automatically named Car00001, Car00002, …, Car00020).